
7:添加用户账户
7.1:密码认证
Meteor 自带基本的认证和账户管理系统,因此您只需添加 accounts-password 即可启用用户名和密码认证。
meteor add accounts-password
支持多种其他认证方法。您可以阅读更多关于账户系统的信息 这里。
我们还建议您安装 bcrypt 节点模块,否则您将看到一条警告,提示您正在使用其纯 JavaScript 实现。
meteor npm install --save bcrypt
您应该始终使用
meteor npm而不是仅使用npm,这样您才能始终使用 Meteor 锁定的npm版本,这有助于避免因不同版本的 npm 安装不同模块而导致的问题。
7.2:创建用户账户
现在您可以为我们的应用创建一个默认用户,我们将使用 meteorite 作为用户名,如果我们在数据库中找不到它,我们只需在服务器启动时创建一个新用户。
server/main.js
import { Meteor } from 'meteor/meteor'
import { Accounts } from 'meteor/accounts-base'
import { TasksCollection } from '../imports/db/TasksCollection'

...

const SEED_USERNAME = 'meteorite';
const SEED_PASSWORD = 'password';

Meteor.startup(() => {
  if (!Accounts.findUserByUsername(SEED_USERNAME)) {
    Accounts.createUser({
      username: SEED_USERNAME,
      password: SEED_PASSWORD,
    });
  }

  ...
});
您在应用 UI 中应该还没有看到任何变化。
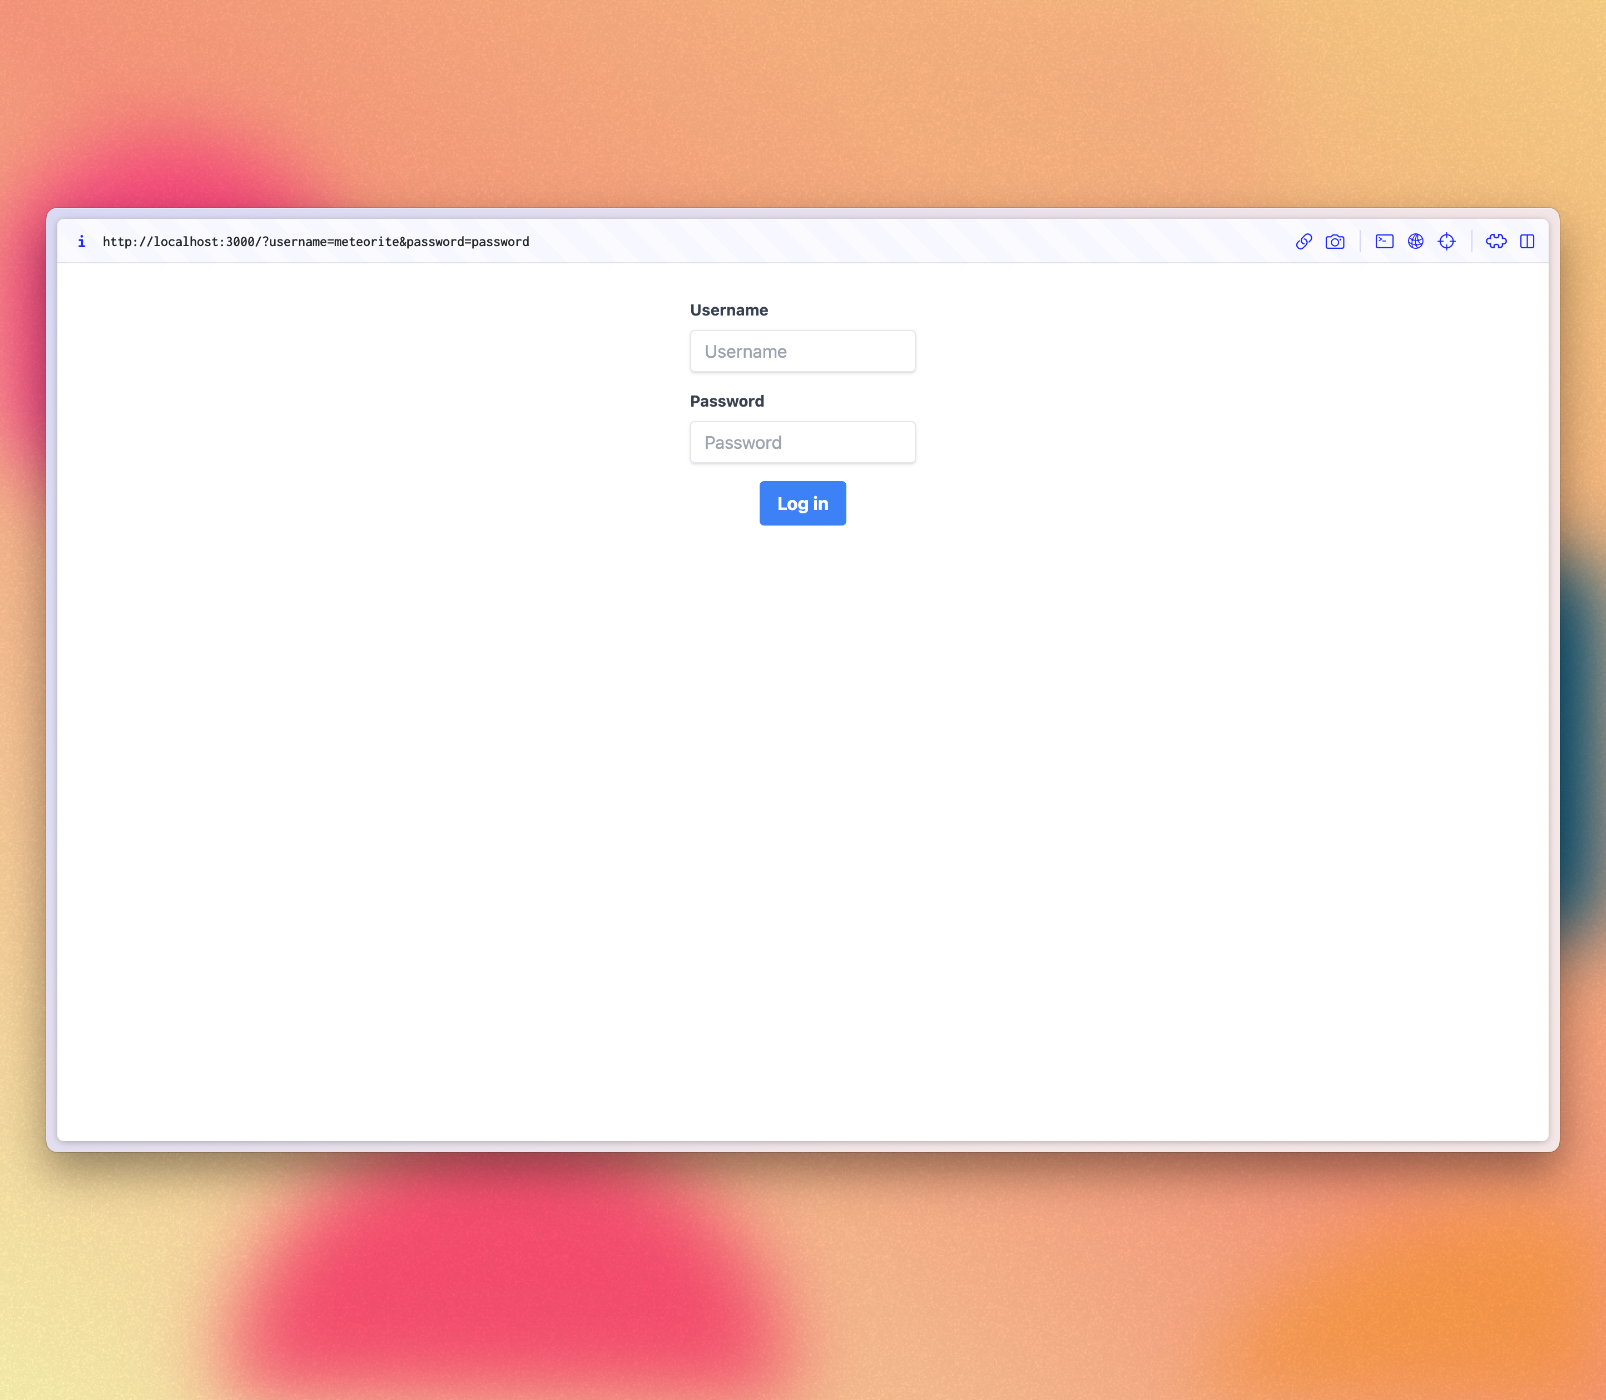
7.3:登录表单
您需要为用户提供输入凭据并进行身份验证的方法,为此我们需要一个表单。
创建一个名为 LoginForm.vue 的新文件,并在其中添加一个表单。您应该使用 Meteor.loginWithPassword(username, password); 通过提供的输入来验证用户身份。
imports/ui/components/LoginForm.vue
<script setup>
import { Meteor } from 'meteor/meteor'
import { ref } from 'vue'

const username = ref('')
const password = ref('')

const submitForm = (event) => {
    event.preventDefault()
    Meteor.loginWithPassword(username.value, password.value)
}
</script>

<template>
    <form class="flex flex-col justify-center items-center w-full max-w-md mx-auto my-8" @submit="submitForm">
        <div>
            <label for="username" class="block text-gray-700 text-sm font-bold mb-2">Username</label>
            <input v-model="username" type="text" name="username" placeholder="Username" required
                class="shadow appearance-none border rounded w-full py-2 px-3 text-gray-700 leading-tight focus:outline-none focus:shadow-outline">
        </div>

        <div class="mt-4">
            <label for="password" class="block text-gray-700 text-sm font-bold mb-2">Password</label>
            <input v-model="password" type="password" name="password" placeholder="Password" required
                class="shadow appearance-none border rounded w-full py-2 px-3 text-gray-700 leading-tight focus:outline-none focus:shadow-outline">
        </div>

        <div>
            <button type="submit"
                class="bg-blue-500 hover:bg-blue-700 text-white font-bold py-2 mt-4 px-4 rounded focus:outline-none focus:shadow-outline">
                Log in
            </button>
        </div>
    </form>
</template>
好的,现在您有一个表单了,让我们使用它。
7.4:需要认证
我们的应用应该只允许已认证的用户访问其任务管理功能。
当我们没有已认证的用户时,我们可以通过返回 LoginForm 组件来实现这一点,否则我们返回表单、过滤器和列表组件。
我们将需要一个 ref,它将用于知道用户是否已登录,一个 user 变量,它将用于存储用户数据,以及一个使用 watch 的逻辑,以便在用户更改时更新 isLogged ref。
imports/ui/App.vue
...
import { Meteor } from 'meteor/meteor';
import { ref, watch } from 'vue';

const hideCompleted = ref(false)
const isLogged = ref(false)

const user = autorun(() => Meteor.userId()).result

watch(
  () => user.value,
  (newUser) => {
    isLogged.value = !!newUser
  },
  { immediate: true }
)

...
然后,我们可以将我们的用户功能包装在一个 <div> 标签中,并在 v-if 指令中添加它,以便在有已登录用户时有条件地渲染我们的用户功能。
imports/ui/App.vue
...

<template>
  <div v-if="isLogged">
    <header class="flex items-center justify-between px-4 py-4 bg-gray-100 border-t border-b border-gray-200">
      <h1 class="text-4xl font-bold text-gray-800 my-4">🚀 To-Do List
        <span v-if="incompleteTasksCount > 0" class="text-lg font-light text-gray-600">({{ incompleteTasksCount }})</span>
      </h1>
    </header>
    <div class="mx-auto max-w-2xl px-4 py-8 sm:px-6 lg:px-8">
      <div class="mb-8 md:w-96 md:mx-auto md:mb-0 md:mt-8 md:px-4 md:py-8 text-center md:bg-gray-100 md:rounded-lg">
        <TaskForm />
        <div>
          <button class="text-sm font-semibold text-gray-600 hover:text-gray-800" @click="toggleHideCompleted">
            <span v-if="hideCompleted">Show all</span>
            <span v-else>Hide completed</span>
          </button>
        </div>
        <ul class="list-none list-inside pt-4 md:w-96">
          <Task v-for="task of tasks" :key="task._id" :task="task" />
        </ul>
      </div>
    </div>
  </div>

  <div v-else>
    <LoginForm />
  </div>
</template>
7.5:服务器启动
从现在开始,每个任务都应该有一个所有者。因此,请转到您的数据库,正如您之前学到的那样,并从中删除所有任务。
db.tasks.remove({});
更改您的 server/main.js 以使用您的 meteoriote 用户作为所有者来添加种子任务。
请确保在此更改后重新启动服务器,以便 Meteor.startup 块再次运行。这很可能自动发生,因为您将在服务器端代码中进行更改。
server/main.js
import { Meteor } from 'meteor/meteor'
import { Accounts } from 'meteor/accounts-base'
import { TasksCollection } from '../imports/db/TasksCollection';
import '../imports/api/tasksPublications';
import '../imports/api/tasksMethods';

const insertTask = (taskText, user) =>
  TasksCollection.insert({
    text: taskText,
    userId: user._id,
    createdAt: new Date(),
  });

const SEED_USERNAME = 'meteorite';
const SEED_PASSWORD = 'password';

Meteor.startup(() => {
  if (!Accounts.findUserByUsername(SEED_USERNAME)) {
    Accounts.createUser({
      username: SEED_USERNAME,
      password: SEED_PASSWORD,
    });
  }

  const user = Accounts.findUserByUsername(SEED_USERNAME);

  if (TasksCollection.find().count() === 0) {
    [
      'First Task',
      'Second Task',
      'Third Task',
      'Fourth Task',
      'Fifth Task',
      'Sixth Task',
      'Seventh Task',
    ].forEach(taskText => insertTask(taskText, user));
  }
});
请注意,我们正在使用一个名为 userId 的新字段以及我们的用户 _id 字段,我们还在设置 createdAt 字段。
7.7:任务所有者
现在,您可以在 UI 中根据已认证的用户过滤任务。使用用户 _id 在获取 Mini Mongo 中的任务时将 userId 字段添加到您的 Mongo 选择器中。
您的 tasks 函数应该如下所示
imports/ui/App.vue
...

<script setup>
import { Meteor } from 'meteor/meteor'

import { ref, watch } from 'vue'
import Task from './components/Task.vue'
import TaskForm from './components/TaskForm.vue';
import LoginForm from './components/LoginForm.vue';
import { subscribe, autorun } from 'vue-meteor-tracker'
import { TasksCollection } from '../db/TasksCollection'

const hideCompleted = ref(false)
const isLogged = ref(false)

const user = autorun(() => Meteor.userId()).result

watch(
  () => user.value,
  (newUser) => {
    isLogged.value = !!newUser
  },
  { immediate: true }
)

subscribe('tasks')
const tasks = autorun(() => {
    return TasksCollection.find(
    hideCompleted.value ? { checked: { $ne: true }, userId: user.value } : {},
    {
      sort: { createdAt: -1 },
    }
  ).fetch()
}).result

const incompleteTasksCount = autorun(() => {
  return TasksCollection.find({ checked: { $ne: true } }).count()
}).result

const toggleHideCompleted = () => {
  hideCompleted.value = !hideCompleted.value
}

</script>
...
7.8:注销
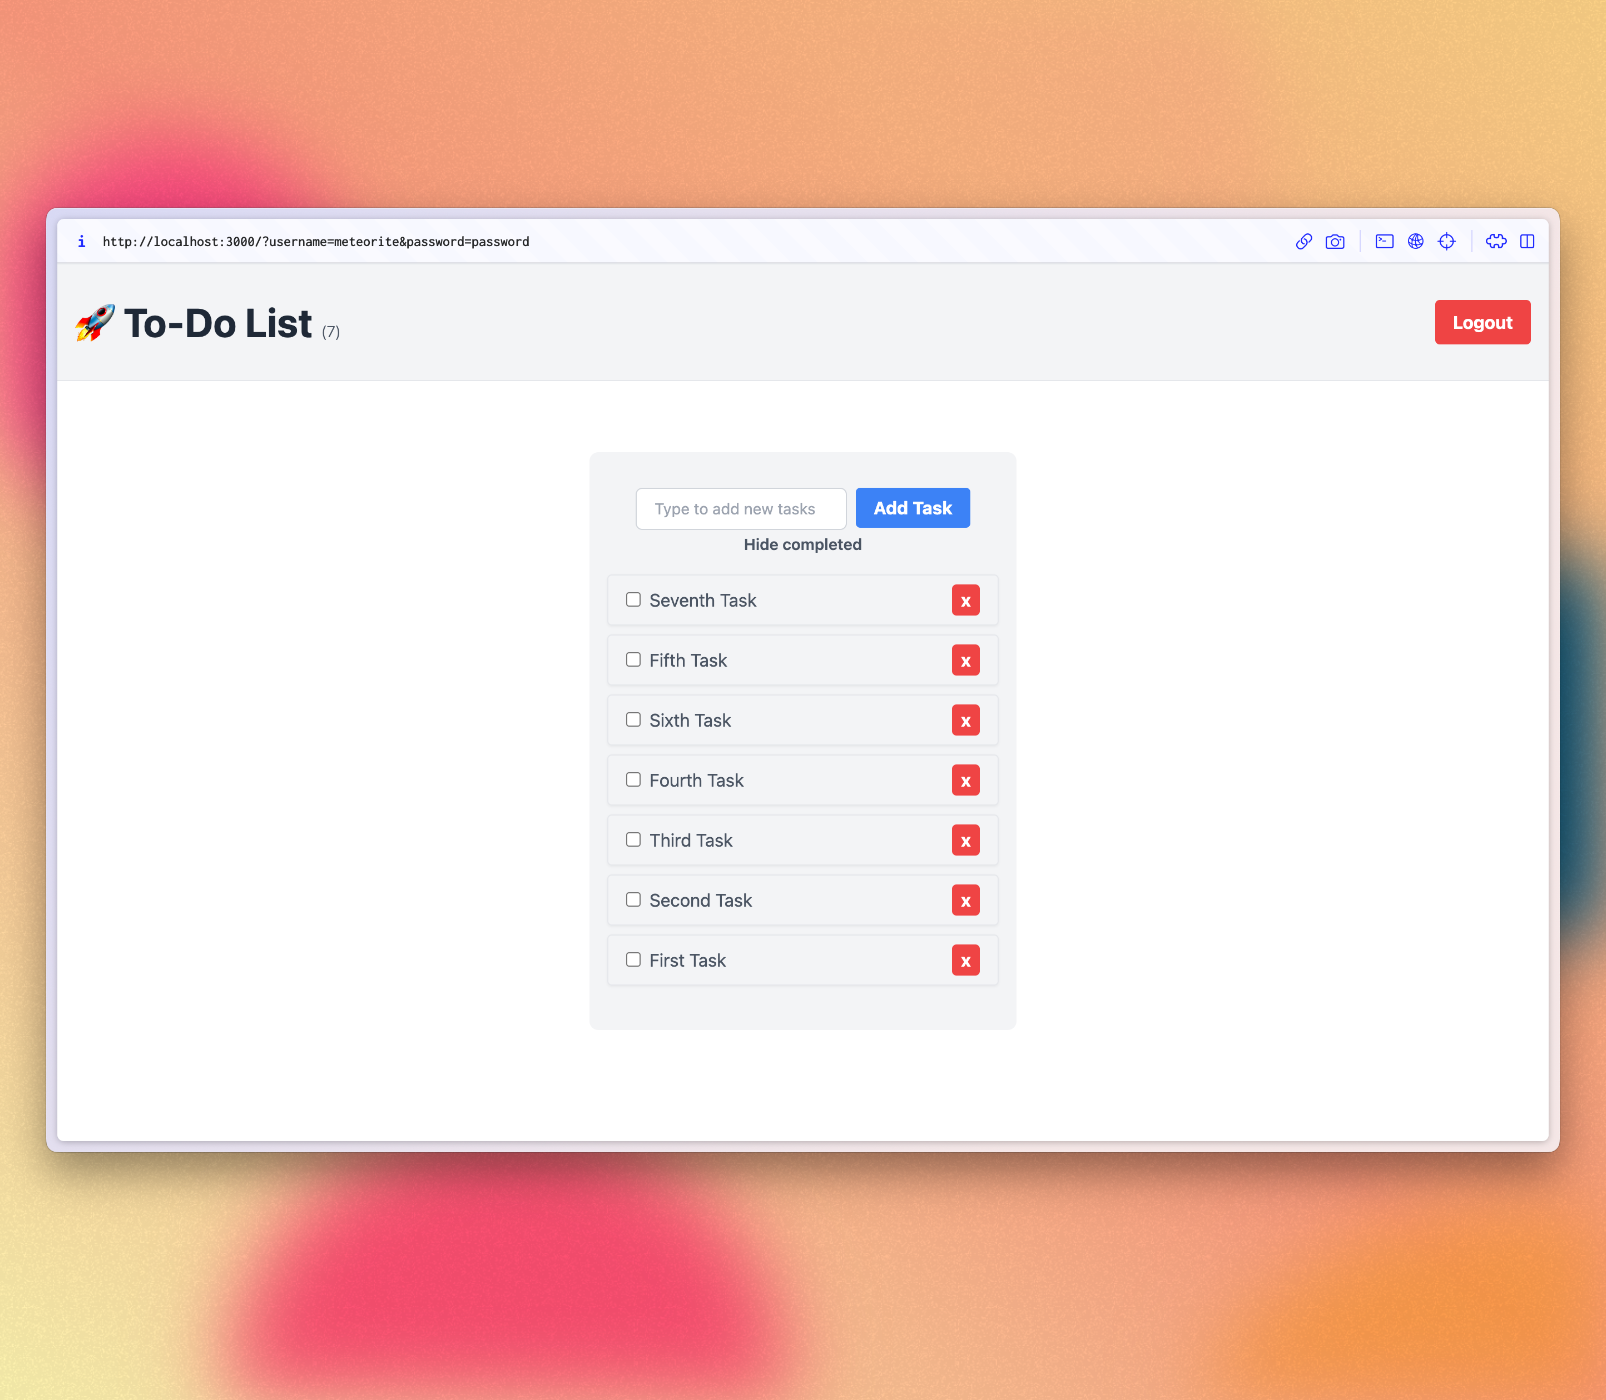
我们还可以通过在应用栏下方显示所有者的用户名来更好地组织我们的任务。您可以在我们的 h1 之后添加一个新的 button。
您可以在其中添加一个 onClick 处理程序以注销用户。这非常简单,只需在其上调用 Meteor.logout() 即可。
imports/ui/App.vue
...

const user = autorun(() => Meteor.userId()).result
const logout = () => Meteor.logout()

...

<h1 class="text-4xl font-bold text-gray-800 my-4">🚀 To-Do List
  <span v-if="incompleteTasksCount > 0" class="text-lg font-light text-gray-600">({{ incompleteTasksCount }})</span>
</h1>

<button
  class="bg-red-500 hover:bg-red-600 text-white font-bold py-2 px-4 rounded focus:outline-none focus:shadow-outline"
  @click="logout">
      Logout
</button>

...
现在我们已登录,我们可以在服务器端进行检查,以确保只有任务的所有者才能删除、更新和添加新任务。
我们只需将以下代码添加到 tasksMethods 上的每个操作即可。
if (!this.userId) {
      throw new Meteor.Error('Not authorized.');
    }
了解您的 tasksMethods 应该是什么样子:/imports/api/tasksMethods.js
import { Meteor } from 'meteor/meteor';
import { check } from 'meteor/check';
import { TasksCollection } from '../db/TasksCollection';

Meteor.methods({
  'tasks.insert'(text) {
    check(text, String);

    if (!this.userId) {
      throw new Meteor.Error('Not authorized.');
    }

    TasksCollection.insert({
      text,
      createdAt: new Date(),
      userId: this.userId,
    });
  },

  'tasks.remove'(taskId) {
    check(taskId, String);

    if (!this.userId) {
      throw new Meteor.Error('Not authorized.');
    }

    TasksCollection.remove(taskId);
  },

  'tasks.setIsChecked'(taskId, checked) {
    check(taskId, String);
    check(checked, Boolean);

    if (!this.userId) {
      throw new Meteor.Error('Not authorized.');
    }

    TasksCollection.update(taskId, {
      $set: {
        checked,
      },
    });
  },
});
呼!您在此步骤中做了很多工作。对用户进行身份验证,将用户设置在任务中,并为用户提供注销的方法。
您的应用应该如下所示
此时,您可能可以尝试进一步探索应用并自行添加注册表单。您已经知道如何管理 ref、插入数据和创建组件。但请随时继续关注本教程,并在稍后添加注册表单。
回顾:您可以查看此步骤结束时代码应该是什么样子 这里
在下一步中,我们将开始使用 Meteor 创建移动应用。